To apply for a building permit, confirm with your local building department whether your work needs one, prepare drawings and supporting documents that show code compliance, submit the application with the required fees, respond to plan-review comments, then collect the approved permit and schedule the staged inspections it requires.
That is the shape of the process everywhere. The details — forms, drawings, fees, review times — vary by jurisdiction, and nothing here replaces what your local building department tells you. What follows is the sequence, and how to check at each step that you have actually cleared it.
Why does the permit process derail so many projects?
Because owners treat it as paperwork to file rather than a phase to plan. A permit application reviews whether your design complies with the codes in force where you build. If it does not, the fix happens on your drawings, at your cost — and every week of back-and-forth is a week the site sits idle.
The other common failure is starting work first. Building without a required permit invites stop-work orders and fines, and it resurfaces at the worst moment: when an insurer investigates a claim, or a buyer's solicitor asks for approvals you never obtained. Unpermitted structural work is expensive to unwind, because the remedy is often opening up finished construction to prove what is behind it.
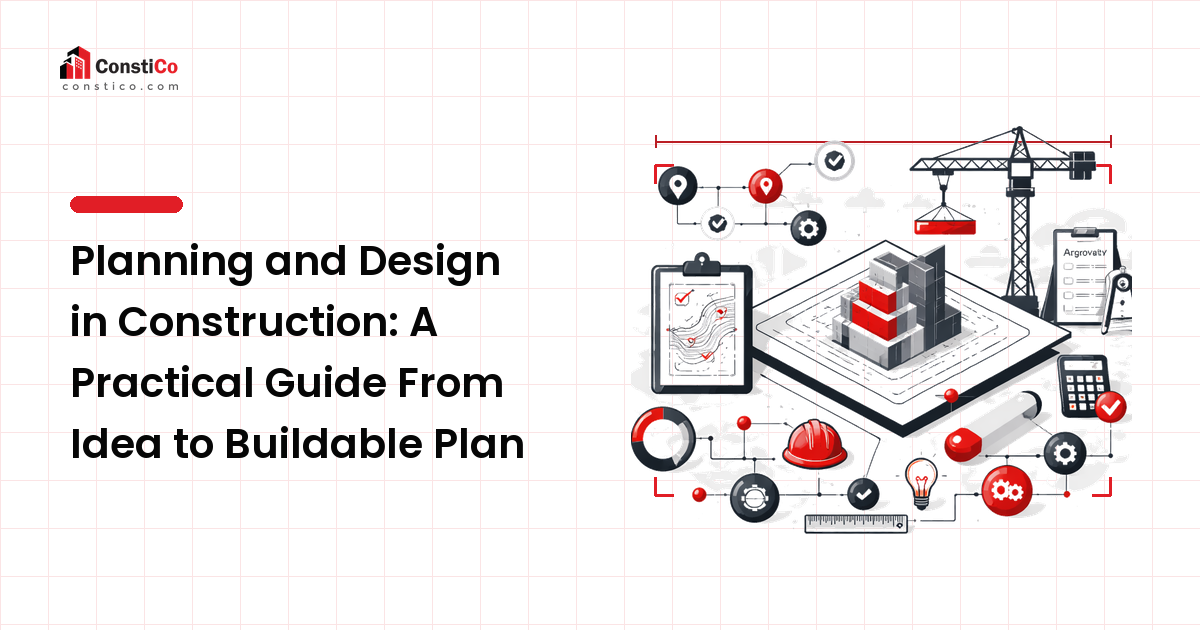
Treat permitting as part of design, not as a hurdle after it. Our planning and design guide makes the same point from the design side: the cheapest place to change a building is on paper.
What do you need before you start the application?
Gather these before you touch a form. Missing items are the most common reason applications are returned unprocessed.
- Proof you can build there — ownership or authorisation to act, plus the parcel reference or legal description.
- A defined scope — a written description of exactly what is being built or altered, in measurable terms.
- Drawings — the set your authority requires, which for structural work usually means drawings stamped by a licensed design professional.
- Site information — boundaries, setbacks, existing structures, access, and drainage.
- Supporting reports — structural calculations, energy or accessibility documentation, or specialist assessments, depending on the work and jurisdiction.
The step-by-step building permit walkthrough
Step 1 — Confirm whether the work needs a permit
Describe your scope to the local building department and ask directly: does this require a permit, and which type? Structural changes, new construction, additions, most electrical and plumbing work, and any change of use typically do. Cosmetic finishes typically do not. The boundary is set locally, so guessing is not a strategy.
How to verify: you have a clear answer from the authority itself — an email, a written reply, or a reference number — not an opinion from a contractor or a neighbour.
Step 2 — Establish what governs the site
Before the design goes far, find out what constrains it: zoning or land-use rules, setbacks, height and coverage limits, heritage overlays, flood designations, and any homeowners' or estate restrictions sitting on top of public rules.
How to verify: you can state, in one line each, the limits applying to your parcel, and your concept fits inside all of them. Resolve anything unclear before drawings begin.
Step 3 — Get the drawings and documents prepared
Commission the drawing set your authority specified. For anything touching structure — removing walls, adding openings, adding load — that means a qualified engineer or architect, not a sketch. If you plan to take out an interior wall, confirm first whether it carries load; our guide on how to tell if a wall is load-bearing explains why that needs an engineer's sign-off, not a hunch.
How to verify: every item on the authority's submission checklist has a corresponding document in your set, and the drawings show dimensions, materials, and structural details rather than intent.
Step 4 — Submit the application and pay the fees
File through whatever channel the authority uses — increasingly an online portal, sometimes in person. Complete every field, attach the full set, and pay the assessed fee. Permit and review fees are soft costs and belong in your budget; if you have not accounted for them, revisit the categories in our construction cost estimate guide.
How to verify: you hold an application number and a payment receipt, and the authority has confirmed the submission is complete rather than pending documents.
Step 5 — Track the review and answer comments fast
Plan review is where an examiner checks your design against the applicable codes. Most non-trivial applications come back with comments — requests for clarification, corrections, or added detail. That is normal, not a rejection.
Send comments straight to whoever prepared the drawings, ask for a revision that addresses each point explicitly, and resubmit as one complete package rather than in pieces. Applications stall far more often because the applicant sat on comments than because the design was bad.
How to verify: each numbered comment has a written response and a corresponding drawing revision, and the authority has logged the resubmission.
Step 6 — Collect the permit and read its conditions
Approval arrives with conditions attached: an expiry date, required inspection stages, sometimes limits on working hours or specific items to be resolved on site. Read them. They are enforceable, and they shape your programme.
How to verify: you have the approved permit document and the stamped drawing set, you have posted the permit on site if that is required locally, and you have listed every condition and inspection hold point somewhere your contractor will actually see it.
Step 7 — Build to the approved drawings and book inspections on time
Construction must follow what was approved. If something changes on site — a different beam, a moved wall, a substituted material — that may require a revision or amended permit before the work is covered. Inspections happen at defined stages, generally before work is concealed: foundations before backfill, framing before it is closed up, services before they disappear behind finishes. Book them into the schedule from the start, alongside the trade sequencing in our construction project guide.
How to verify: each required inspection has a passed record before the next stage covers it. If an inspection fails, you have the correction notice in writing and a re-inspection booked. For what the inspector is actually looking at, see our building inspection guide.
Step 8 — Close the permit out
The permit is not finished when the building is. Most jurisdictions require a final inspection and, for occupancy, a certificate before the space can be used. An open permit left dangling after the builders leave surfaces years later at sale.
How to verify: you hold the final sign-off and any occupancy certificate, and your records include the approved drawings, all inspection results, and the closed-permit confirmation.
How long does it all take?
Long enough that it belongs on the critical path. Simple applications may clear quickly; complex work, busy authorities, or a second and third round of comments take considerably longer. Ask the authority for its current review times when you submit, and plan for one round of comments as the expected case. The controllable part is your response time, so keep your design professional available through the review window.
FAQ
Can I start work while the permit application is being reviewed?
No — not for work that requires the permit. Approval is what makes the work lawful, and starting early risks stop-work orders, fines, and having to expose completed construction for inspection. If sequencing is tight, ask the authority whether any early-works or partial permit exists for your type of project.
Who should prepare the drawings — me or a professional?
For structural work, additions, and most new construction, a licensed architect or engineer, because many authorities require a stamped set and because the design has to demonstrate code compliance. Minor, non-structural applications are sometimes accepted with owner-prepared drawings. Ask the authority which category your project falls into before commissioning anything.
What happens if my application is rejected?
Most applications are not rejected outright; they receive review comments requiring correction. Address each comment in writing, revise the drawings accordingly, and resubmit as a complete package. If an application is genuinely refused, ask for the reasons in writing — they will tell you whether the fix is a design change or an appeal.
Does a permit mean my building is guaranteed to be safe?
No. A permit and its inspections confirm the design and visible work were reviewed against applicable code requirements at defined checkpoints. They are not a warranty on workmanship or a substitute for your own quality control on site.
What if I discover unpermitted work on a property I already own?
Get it assessed before you build on top of it. A qualified inspector or engineer can advise whether it meets current requirements, and the building department can explain the retroactive permitting route locally. Disclose it at sale — concealed unpermitted work creates liability that outlasts the renovation.
Next step
Describe your scope to your local building department and get a written answer on whether a permit is required and what the submission must contain — before you commission a design around assumptions. Then budget the fees, block out the review period, and line up the professional who will answer the comments when they arrive. To find licensed professionals for the drawings or the work, compare vetted contractors and specialists.