Most construction problems are not caused by bad building. They are caused by decisions made — or skipped — long before anyone pours concrete. A vague budget, a missing permit, an unclear scope, or the wrong contractor will cost you far more than a difficult site ever will. This guide walks through a construction project the way an experienced project lead would: in clear phases, with the questions you need to answer at each one.
The short version: define the project before you fund it, build a realistic budget with a contingency, lock the design and permits before you start, and manage the build against a written schedule and scope. A project that is planned well is mostly a matter of execution. A project that is planned poorly is a series of expensive surprises.
Why planning decides the outcome
The cost of changing a project rises sharply as it progresses. Moving a wall on a drawing costs an eraser. Moving it during framing costs labor and materials. Moving it after drywall and finishes costs a small fortune. The earlier you make a decision, the cheaper it is — which is why the planning and design phase deserves more attention than most owners give it.
Good planning also protects you legally and structurally. Permits, inspections, and code compliance are not bureaucratic hurdles; they are the checkpoints that keep a building safe and insurable. Skipping them to save time tends to cost far more later, when an inspector, a buyer, or an insurer asks for paperwork you never obtained.
Phase 1: Feasibility and definition
Before you spend real money, answer the basic questions clearly.
- What are you actually building, and why? Write a one-paragraph scope. "Add a 40 sq m single-story extension with a kitchen and bathroom" is a scope. "Make the house bigger" is not.
- Is the site capable of it? Consider access, soil conditions, drainage, existing structure, and any easements or setbacks. A quick site assessment now prevents redesigns later.
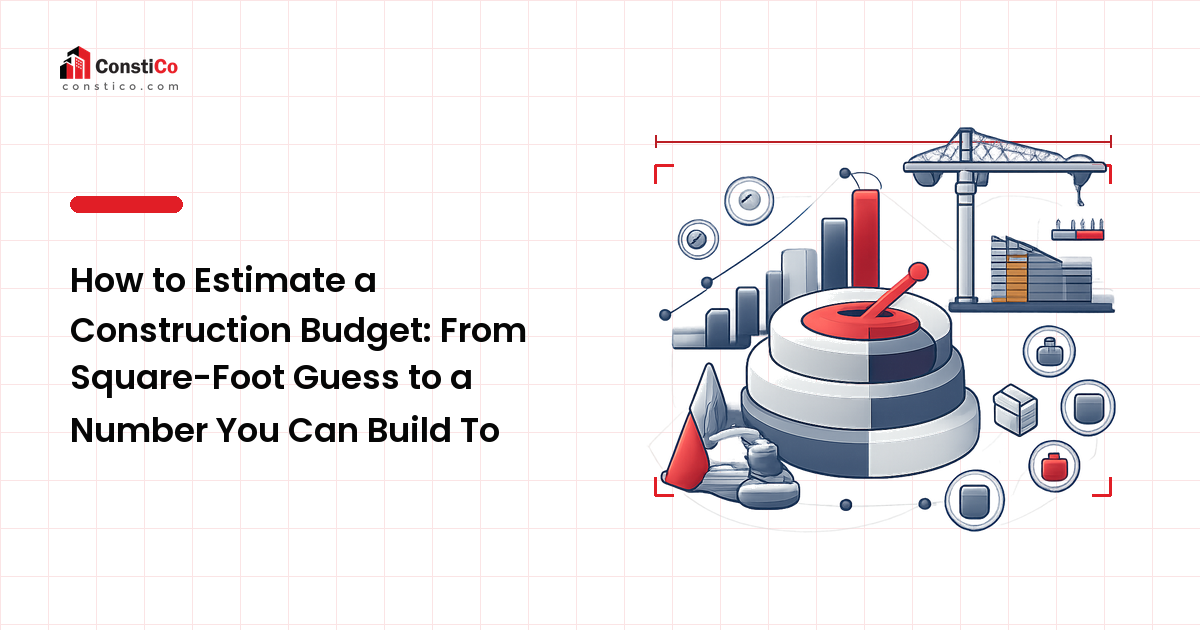
- What is the rough budget? Use a realistic per-area cost for your region and building type, then sanity-check it. If the numbers do not work at this stage, they will not work later.
This phase is cheap and decisive. Many projects should be reshaped — or paused — based on what feasibility reveals.
Phase 2: Design and permits
Once the project is worth pursuing, turn the idea into a buildable plan. This usually means working with an architect or engineer to produce drawings detailed enough to price and construct, and to satisfy your local authority.
- Design to a brief and a budget. Share your scope and budget ceiling up front so the design stays buildable. Open-ended design without a budget almost always overshoots.
- Get the permits before you build. Most structural, electrical, plumbing, and change-of-use work requires a permit. Building without one risks stop-work orders, fines, and forced removal. When in doubt, ask your local building department — requirements vary by jurisdiction.
- Resolve the details on paper. Decide finishes, fixtures, and key materials during design. Decisions deferred to the build phase become change orders, and change orders are where budgets quietly explode.
For a deeper walkthrough of this stage, see the planning and design guide.
Phase 3: Budgeting and contracts
A construction budget is more than the builder's quote. Build it in layers.
- Hard costs — labor and materials for the actual construction.
- Soft costs — design fees, permits, surveys, inspections, and insurance.
- Contingency — a reserve for the unknowns every project has. A reserve in the range of 10–20% is common; older buildings and complex sites sit at the higher end.
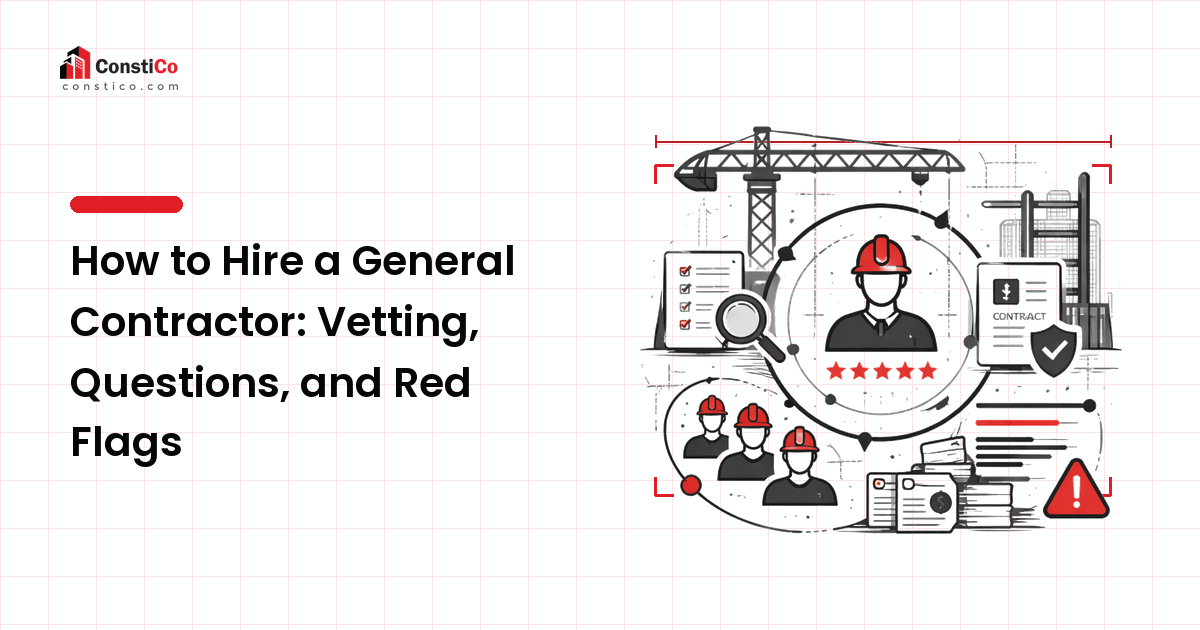
When you select a contractor, compare more than the bottom-line price. The lowest bid often signals missing scope that returns later as extras. Look at how detailed the quote is, what it explicitly includes and excludes, the proposed schedule, references, licensing, and insurance. Then put it in writing: a clear contract covering scope, price, payment schedule, timeline, and how change orders are priced and approved. The contract is what protects both sides when reality diverges from the plan.
Phase 4: Managing the build
Once work starts, the job shifts from planning to coordination and control. The core disciplines are scope, schedule, and quality.
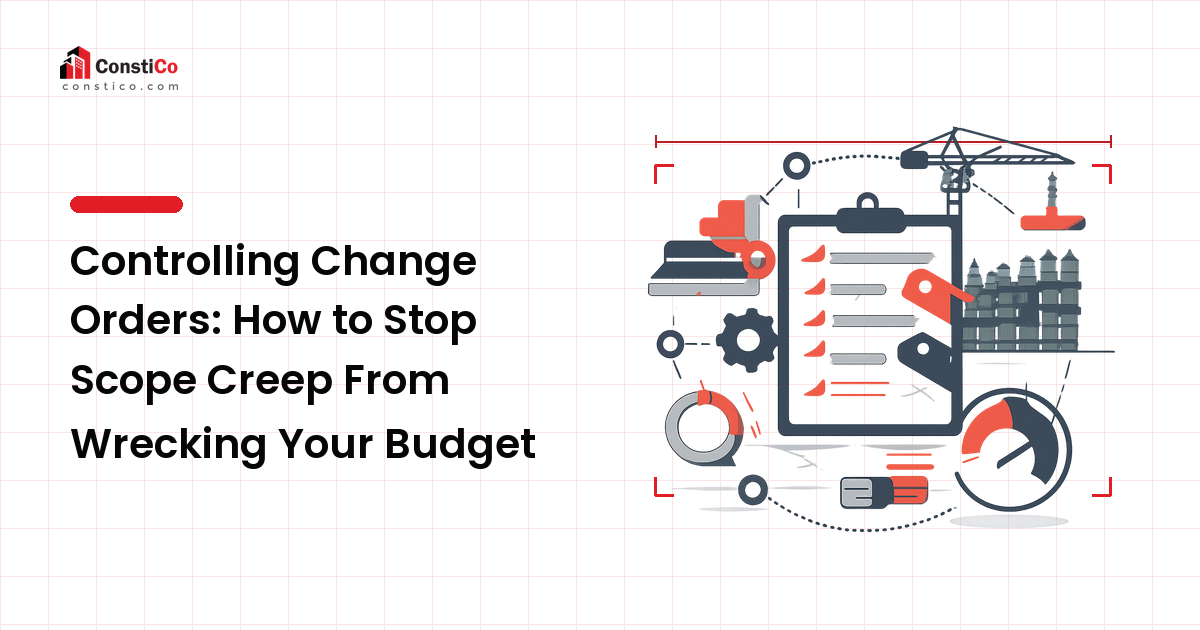
- Hold the scope. Every change should go through a written change order with an agreed cost and time impact before work proceeds. Verbal "while you're here" requests are the most common source of disputes and overruns.
- Track the schedule. Sequencing matters — trades have to follow each other in the right order, and a slip in one stage pushes everything behind it. Review progress against the schedule regularly, not just at the end.
- Inspect at the right moments. Required inspections happen at defined stages (for example, foundations before backfill, framing before it is covered, services before they are concealed). Build them into the schedule so work is not closed up before it is checked. The building inspection guide covers what these checks look for.
Clear coordination is the heart of project management; the project management guide goes deeper on contracts, risk, and keeping trades aligned.
Phase 5: Completion and handover
A project is not finished when the work looks done. Close it out properly.
- Walk the site and build a punch list of defects and incomplete items, and agree a deadline for fixing them.
- Get the final inspections and any occupancy approval required before the space is used.
- Collect the paperwork — warranties, permits, inspection sign-offs, as-built drawings, and equipment manuals. This documentation matters for maintenance, insurance, and any future sale.
A clean handover turns a finished build into a building you can operate, maintain, and prove was done correctly.
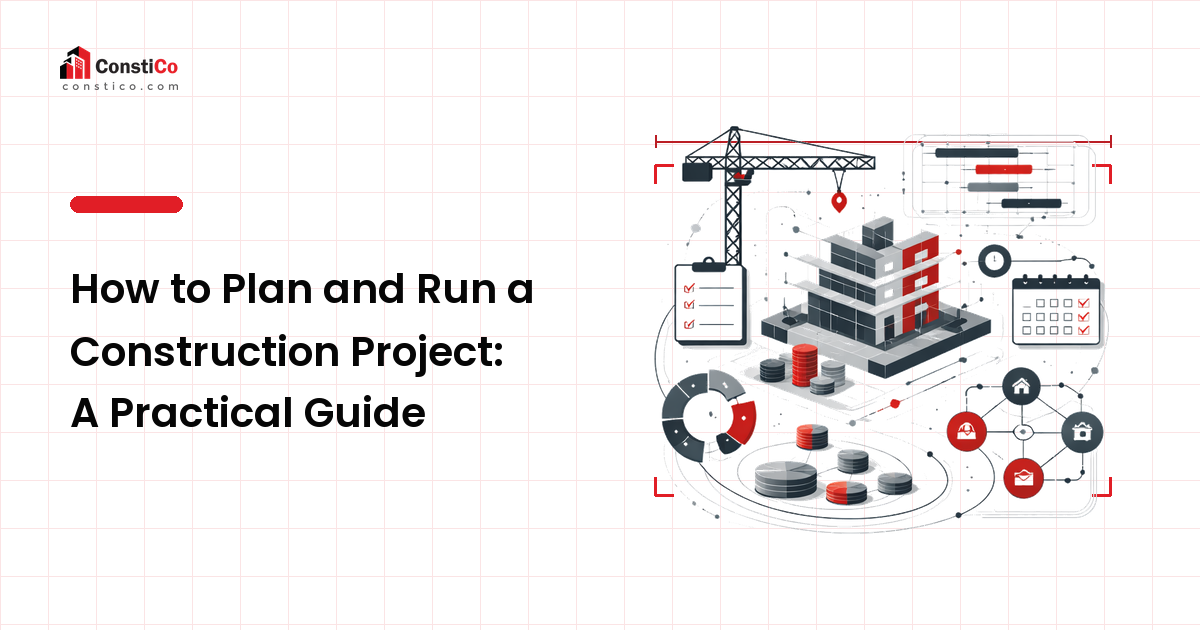
A simple project framework
- Define — write a clear scope and confirm the site and rough budget work.
- Design and permit — produce buildable drawings and secure approvals before starting.
- Budget and contract — layer hard, soft, and contingency costs; put the deal in writing.
- Build — control scope, schedule, and quality; inspect at the right stages.
- Hand over — clear the punch list, pass final inspections, and collect documentation.
FAQ
How much contingency should a construction budget include?
A reserve in the range of 10–20% of construction cost is common. Use the lower end for straightforward new work and the higher end for renovations, older buildings, or sites with unknowns, because those carry more surprises once work is underway.
Do I really need a permit for my project?
Usually, yes, for structural, electrical, plumbing, or change-of-use work — and requirements vary by location. Building without a required permit risks fines, stop-work orders, and problems with insurance and resale. Check with your local building department before you start.
How do I choose between contractor bids?
Do not default to the lowest number. Compare what each bid includes and excludes, how detailed it is, the proposed schedule, references, and proof of licensing and insurance. A suspiciously low bid often hides scope that reappears later as costly extras.
What is a change order and why does it matter?
A change order is a written, priced agreement to alter the contracted scope, cost, or schedule. Documenting changes before work proceeds prevents disputes and keeps the budget under control — verbal changes are the most common cause of overruns.
When should inspections happen during a build?
At defined stages, before work is covered up — for example, foundations before backfill, framing before it is enclosed, and services before they are concealed. Schedule them in advance so nothing critical is closed up before it has been checked.
Next step
Before anything else, map your project into the five phases above, set a realistic budget with a clear contingency, and confirm exactly which permits and inspections your jurisdiction requires. A well-defined project is one you can actually control — and control is what keeps a build on budget and on schedule.