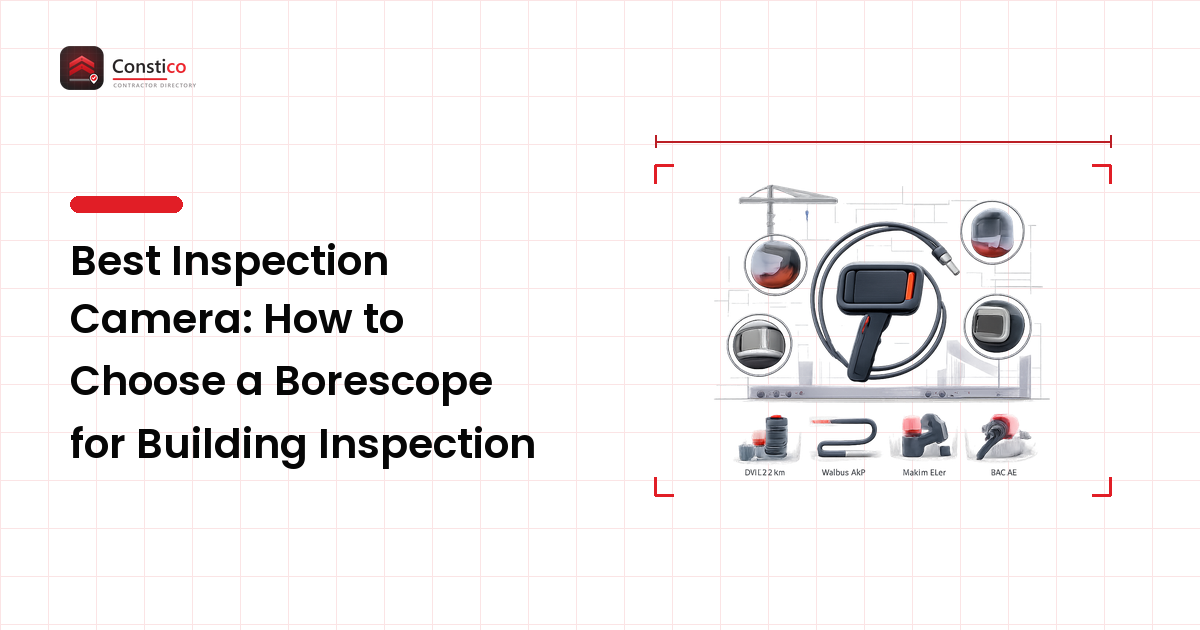
For building work, the best inspection camera is the one whose probe fits the smallest hole you're willing to drill. Four specs decide everything else: probe diameter (it sets your hole size), cable length and stiffness (it sets your reach), resolution with a matched depth of field, and adjustable lighting. Everything beyond those four is convenience, not capability.
That's worth restating because inspection camera marketing pushes megapixels and screen size — neither of which helps if the probe won't reach or the LEDs blow out the image at close range. Below is what each spec does on a real job, and where the tool stops and a professional starts.
What is an inspection camera used for in a building?
An inspection camera — also sold as a borescope or endoscope camera — is a small lens on the end of a flexible or semi-rigid cable, lit by its own LEDs, feeding a screen or a phone. Its single purpose in property work is seeing inside a void without demolishing what encloses it:
- Wall cavities — insulation coverage, debris bridging a damp-proof course, or whether a suspected leak has wetted the inside face.
- Behind fitted kitchen units and bathroom panels — pipework and stopcocks, without pulling out cabinetry.
- Duct and flue runs — blockages, disconnected sections, crushed flexible duct, or fit-out debris.
- Subfloor voids and roof spaces — joist ends, ventilation paths, and standing water where crawling in isn't practical.
- Drains and gullies — root ingress, displaced joints, or blockages, before committing to a full CCTV drain survey.
The pattern is the same each time: it turns an expensive, destructive question into a cheap, reversible one. What it does not do is diagnose — it gathers evidence, and much of what it shows still needs a trained eye, as the building inspection guide sets out.
What specs actually matter?
| Spec | What to look for | Why it matters |
|---|---|---|
| Probe diameter | 5.5–8 mm covers most building work; sub-5 mm for tight or finished areas | This is the size of hole you must drill. A 25 mm probe is useless in a finished wall, however good the image |
| Cable length | 1–3 m for walls and cabinetry; 5 m+ for ducts, drains, and subfloors | Too short and you can't reach; too long and a soft cable coils uselessly instead of pushing forward |
| Cable type | Semi-rigid holds the shape you bend it into; fully flexible is easier to feed but harder to steer | Semi-rigid lets you aim into a cavity; flexible suits long, guided runs like drains |
| Resolution & focus | Sensible resolution with a stated focal range (often 3–8 cm) matched to the job | High resolution focused at the wrong distance still gives a blurred image. Depth of field beats pixel count in a dark cavity |
| IP rating | IP67 on the probe for drains, gullies, and wet voids | An unrated probe entering standing water is a one-use tool. Confirm the rating covers the probe, not just the handset |
| Lighting | Adjustable/dimmable LEDs at the tip | Fixed-bright LEDs blow out light-coloured surfaces at close range. Being able to dim is what makes a wall cavity readable |
| Screen or Wi-Fi | Integrated screen for reliability; Wi-Fi/USB to a phone for capture | A screen never drops connection; a phone gives a bigger view and easy report photos, but cheap Wi-Fi units lag |
| Head options | Articulating tip or dual-lens (side view) | Straight-ahead lenses miss the wall face beside the hole. Sideways viewing is what you usually need in a cavity |
Two spec-sheet traps: resolution claims are often interpolated, and image quality in a lightless void depends far more on the sensor and LED control than the headline number; and an IP rating quoted for "the device" may cover only the handset, when it's the probe rating that matters in water.
Do you need a dual-lens or articulating head?
For most building inspection, yes — it changes what you can see more than any image spec does.
A forward-facing lens shows the far side of a cavity. But your questions are usually about the surfaces beside the hole: is the insulation slumped here, is the sole plate wet, is mortar bridging the cavity? A dual-lens camera adds a side view you switch to; an articulating head bends at the tip so you can sweep around.
Cheaper alternatives genuinely work: a mirror attachment clipped to the tip gives a fixed side view for very little, and a semi-rigid cable pre-bent before insertion aims the lens roughly where you want it. On a tight budget, buy those before more megapixels.
Before you drill: the safety part
Every inspection hole is destructive testing in miniature, and the risk is whatever sits behind the plaster.
- Scan before you drill. Run a combined cable and pipe detector over the spot and a few centimetres either side. Treat detectors as indicative, not definitive.
- Think about where services run. Cables commonly run in vertical and horizontal zones from sockets and switches, and horizontally near ceilings. Drill away from those zones and from anything directly above or below an outlet.
- Isolate if in any doubt. Inspecting near electrics means isolating the circuit at the consumer unit first. If you can't identify or isolate it, stop and get an electrician.
- Assume pipes near wet rooms. Bathrooms, kitchens, and boiler runs are dense with pipework. Drill shallow and step the depth up gradually.
- Stop if the material is suspect. Older textured coatings, insulation board, and some ceiling and duct linings may contain asbestos. Do not drill, sand, or disturb it — it is dangerous once airborne. Leave it and arrange a licensed survey.
- Don't enter live drainage blind. Foul water is a biohazard; wear gloves, avoid splashing, wash thoroughly after.
- Record and make good. Photograph findings with something for scale, then fill and seal the hole — especially if it breached a fire compartment, vapour barrier, or insulated cavity.
When should you call a professional instead?
A camera tells you what is there. It rarely tells you why, and never whether the structure is safe. Bring in a qualified professional when:
- You see structural distress — cracked or displaced masonry, notched or split joists, corroded wall ties, or rot at a joist end. Whether a crack matters is a judgement call, and our guide to wall and foundation cracks explains why width, pattern, and movement over time decide it, not a single photo.
- You find water and can't source it. Wet insulation confirms moisture, not its origin — condensation, penetrating, and rising damp all look like a dark patch on camera. Work through the damp walls guide and get moisture readings before paying for treatment.
- You suspect asbestos-containing materials. Sampling and removal are licensed work in most jurisdictions.
- The finding is in drainage or gas. Displaced drain joints and flue defects need a CCTV survey or a registered gas engineer — a borescope glimpse isn't a survey.
- The report has to stand up. For a sale, dispute, insurance claim, or building-control matter, informal photos carry little weight; you need a qualified inspector's documented assessment.
FAQ
What size inspection camera probe do I need for walls?
For plasterboard and cavity walls, a 5.5–8 mm probe is the practical range — small enough that the hole is easy to fill, large enough that the optics and LEDs are usable. Sub-5 mm probes fit tighter spots but usually trade away image quality and light output.
Can I use a phone endoscope instead of a dedicated camera?
For occasional use, yes — a Wi-Fi or USB-C endoscope gives a large screen and easy photo capture cheaply. The compromises are connection lag on cheaper Wi-Fi units, weaker LED control, and soft cables that are hard to steer. If you inspect regularly, an integrated screen and semi-rigid cable is more dependable.
What IP rating do I need for drain inspection?
Look for IP67 on the probe and cable if it will sit in standing water or a gully, and check the manufacturer states the rating for the probe specifically. Note the rated immersion depth and time — IP67 covers brief immersion, not extended submersion under pressure.
Is an inspection camera the same as a CCTV drain survey?
No. A handheld borescope is a short-reach spot check, good for a metre or two into a gully or accessible run. A CCTV drain survey uses a long, self-levelling camera with distance logging and produces a documented report to a recognised drainage coding standard. Use the borescope to decide whether that survey is worth commissioning.
Do inspection cameras work in complete darkness?
Yes — the tip LEDs provide all the light. The common problem is the opposite: fixed-brightness LEDs reflecting off pale plaster or insulation and washing out the image at close range. That's why dimmable lighting is on the must-have list.
Next step
Buy from the hole outwards. Decide the smallest opening you're prepared to make, choose a probe that fits it, then add the cable length your longest run needs, a semi-rigid cable or articulating head so you can aim, dimmable LEDs, and an IP-rated probe if water is anywhere in the picture. That order gets a tool that works on real jobs rather than a spec sheet that won't fit the wall.
Keep it in its lane, too: it gathers evidence, it doesn't make the call. The moment the camera shows structural movement, unexplained water, a suspect material, or a drainage defect, the cheap look inside has done its job — the next step is a professional assessment. To compare qualified inspectors and contractors near you, start at constico.com.